
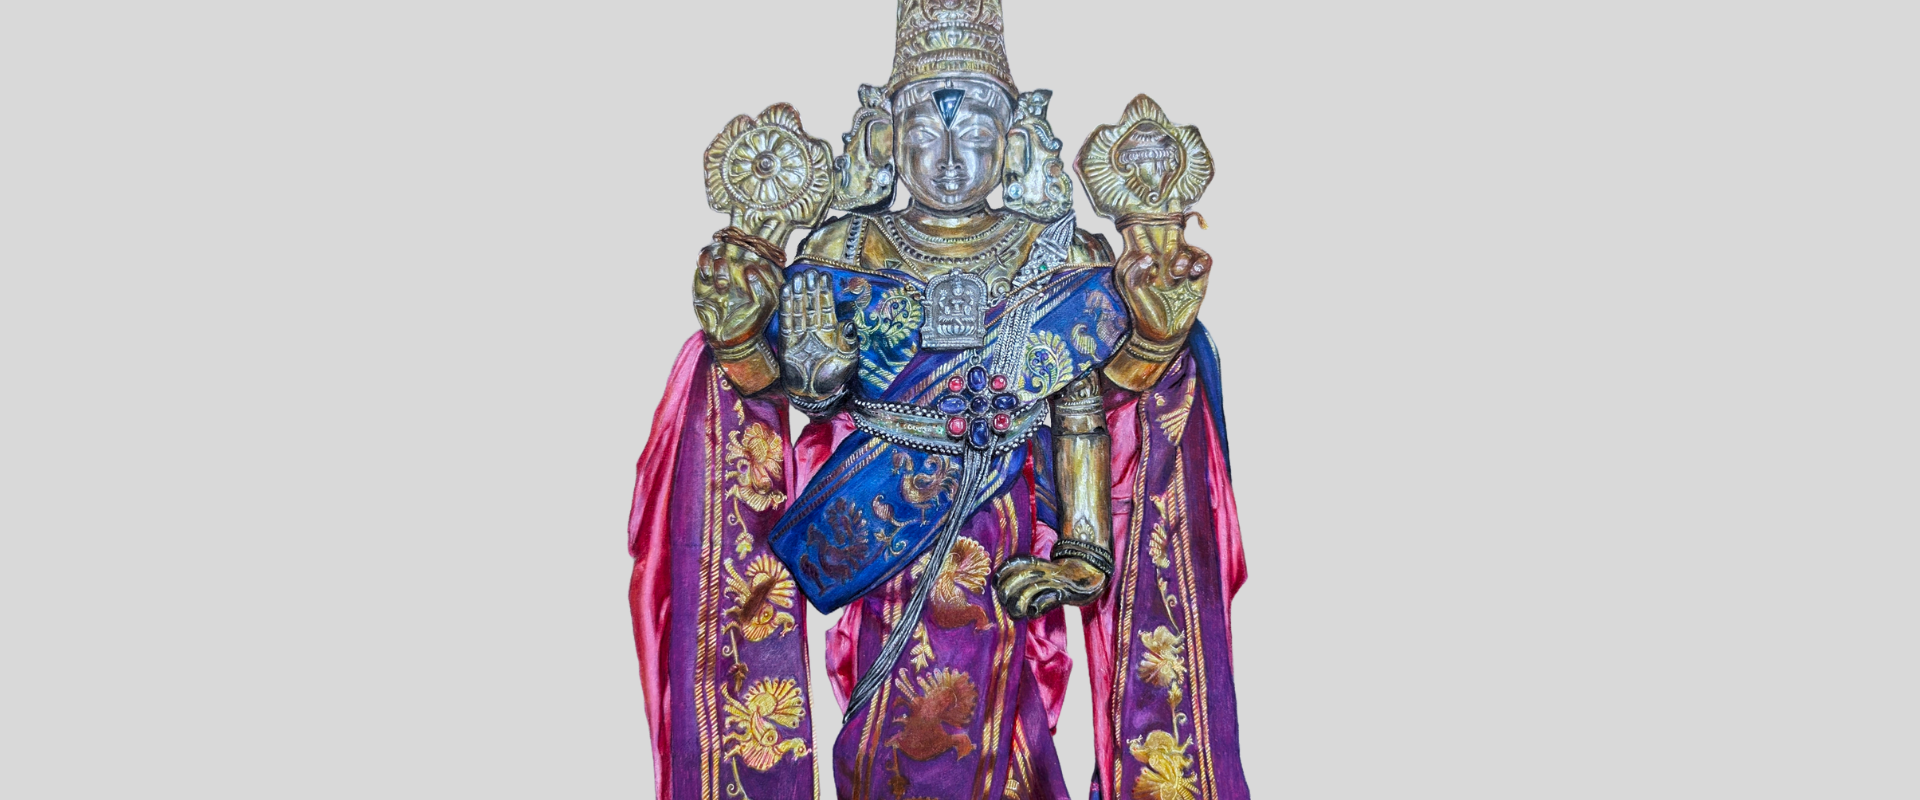
Realistic drawing made easy: Basics to Brilliance
Unlock your creativity and master realistic drawing in just 4 months!
Course starts from 6 September
This summer, draw what feels real!
Why Opt for Our Realistic Drawing Course?
Extensive Learning Journey
Embark on a comprehensive learning experience with a meticulously crafted curriculum that takes you from beginner basics to advanced techniques.
Over 70+ Hours of In-Depth Video Tutorials
Gain access to pre-recorded video lessons that provide detailed step-by-step instructions for every aspect of the drawing process—ideal for learners seeking clarity and precision.
Suitable for Novices and Experienced Artists
Whether you're a beginner or looking to refine your skills, our approachable and easy-to-follow lessons are tailored to accommodate all levels of expertise.
Live Weekend Mentorship Sessions
Receive personalized feedback, expert advice, and answers to your questions during dedicated weekend classes to ensure continuous progress in your learning.
Flexible 1-Year Access
Learn at your own pace with a full year of access to pre-recorded videos and live session recordings, granting you the freedom to revisit lessons whenever you desire.
Course Completion Certificate
Obtain a professional course completion certificate to showcase your artistic growth and achievements.
What you will you learn and create during the course
A realistic Ball
Capture depth with highlights and shadows.
The Ruby
Create lifelike gemstones and intricate details.
Earring
Perfect the art of vibrant color and sparkle.
Zircon
Capture the brilliance of a white zircon with precise facets and realistic sparkle.
Chain Designs
Conquer the complexity of detailed chain links.
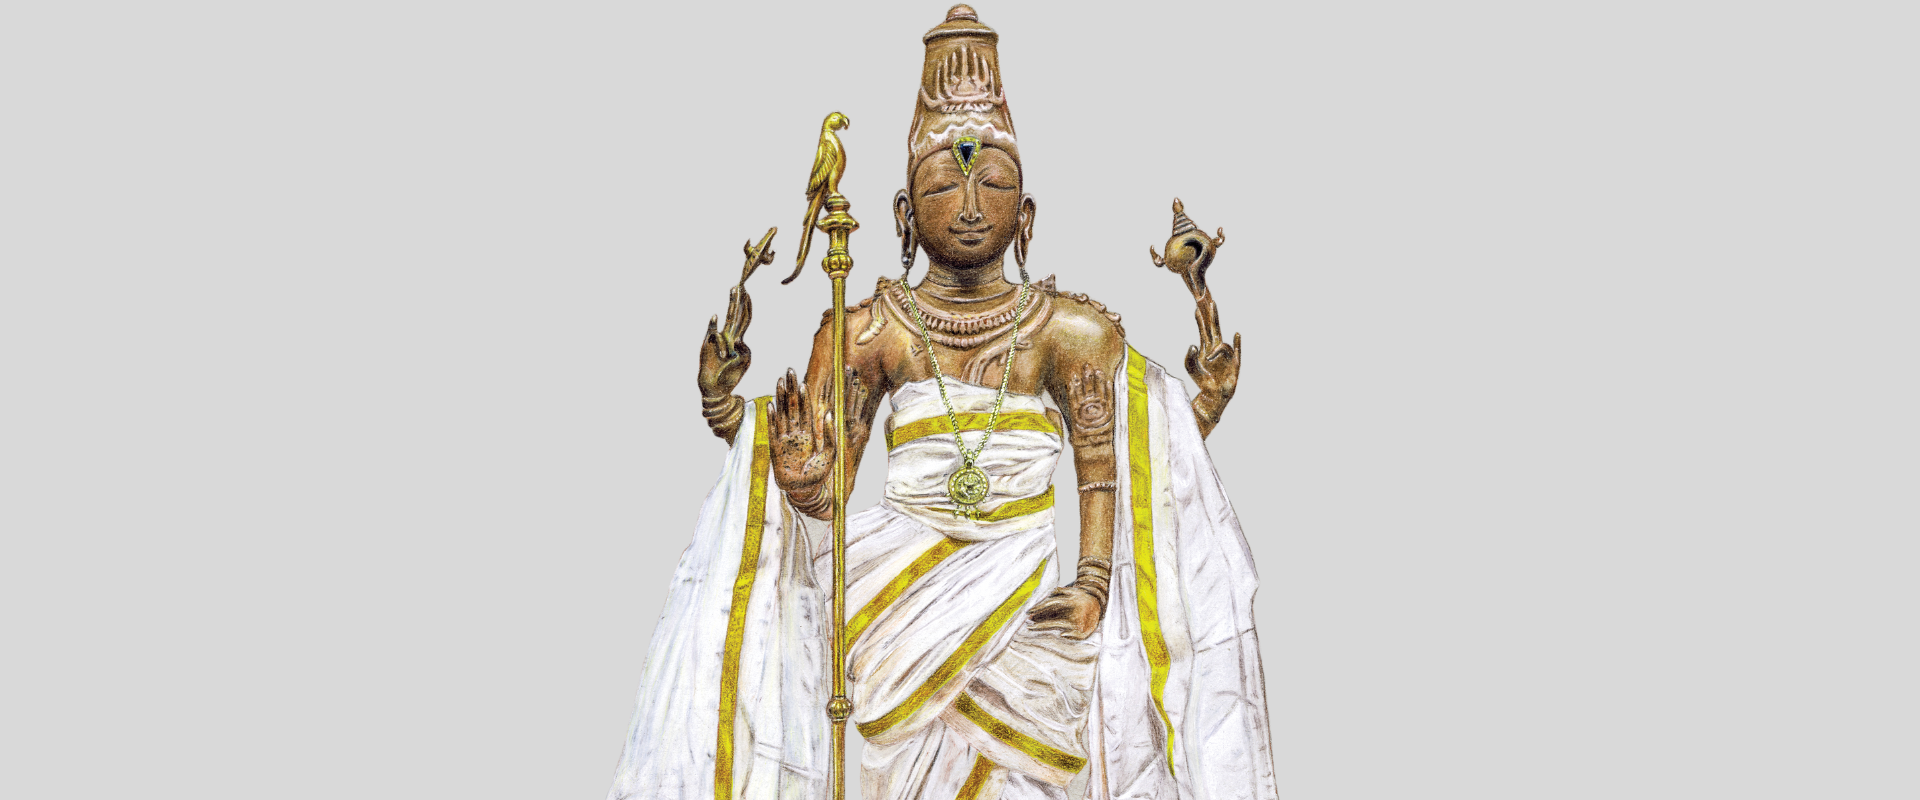
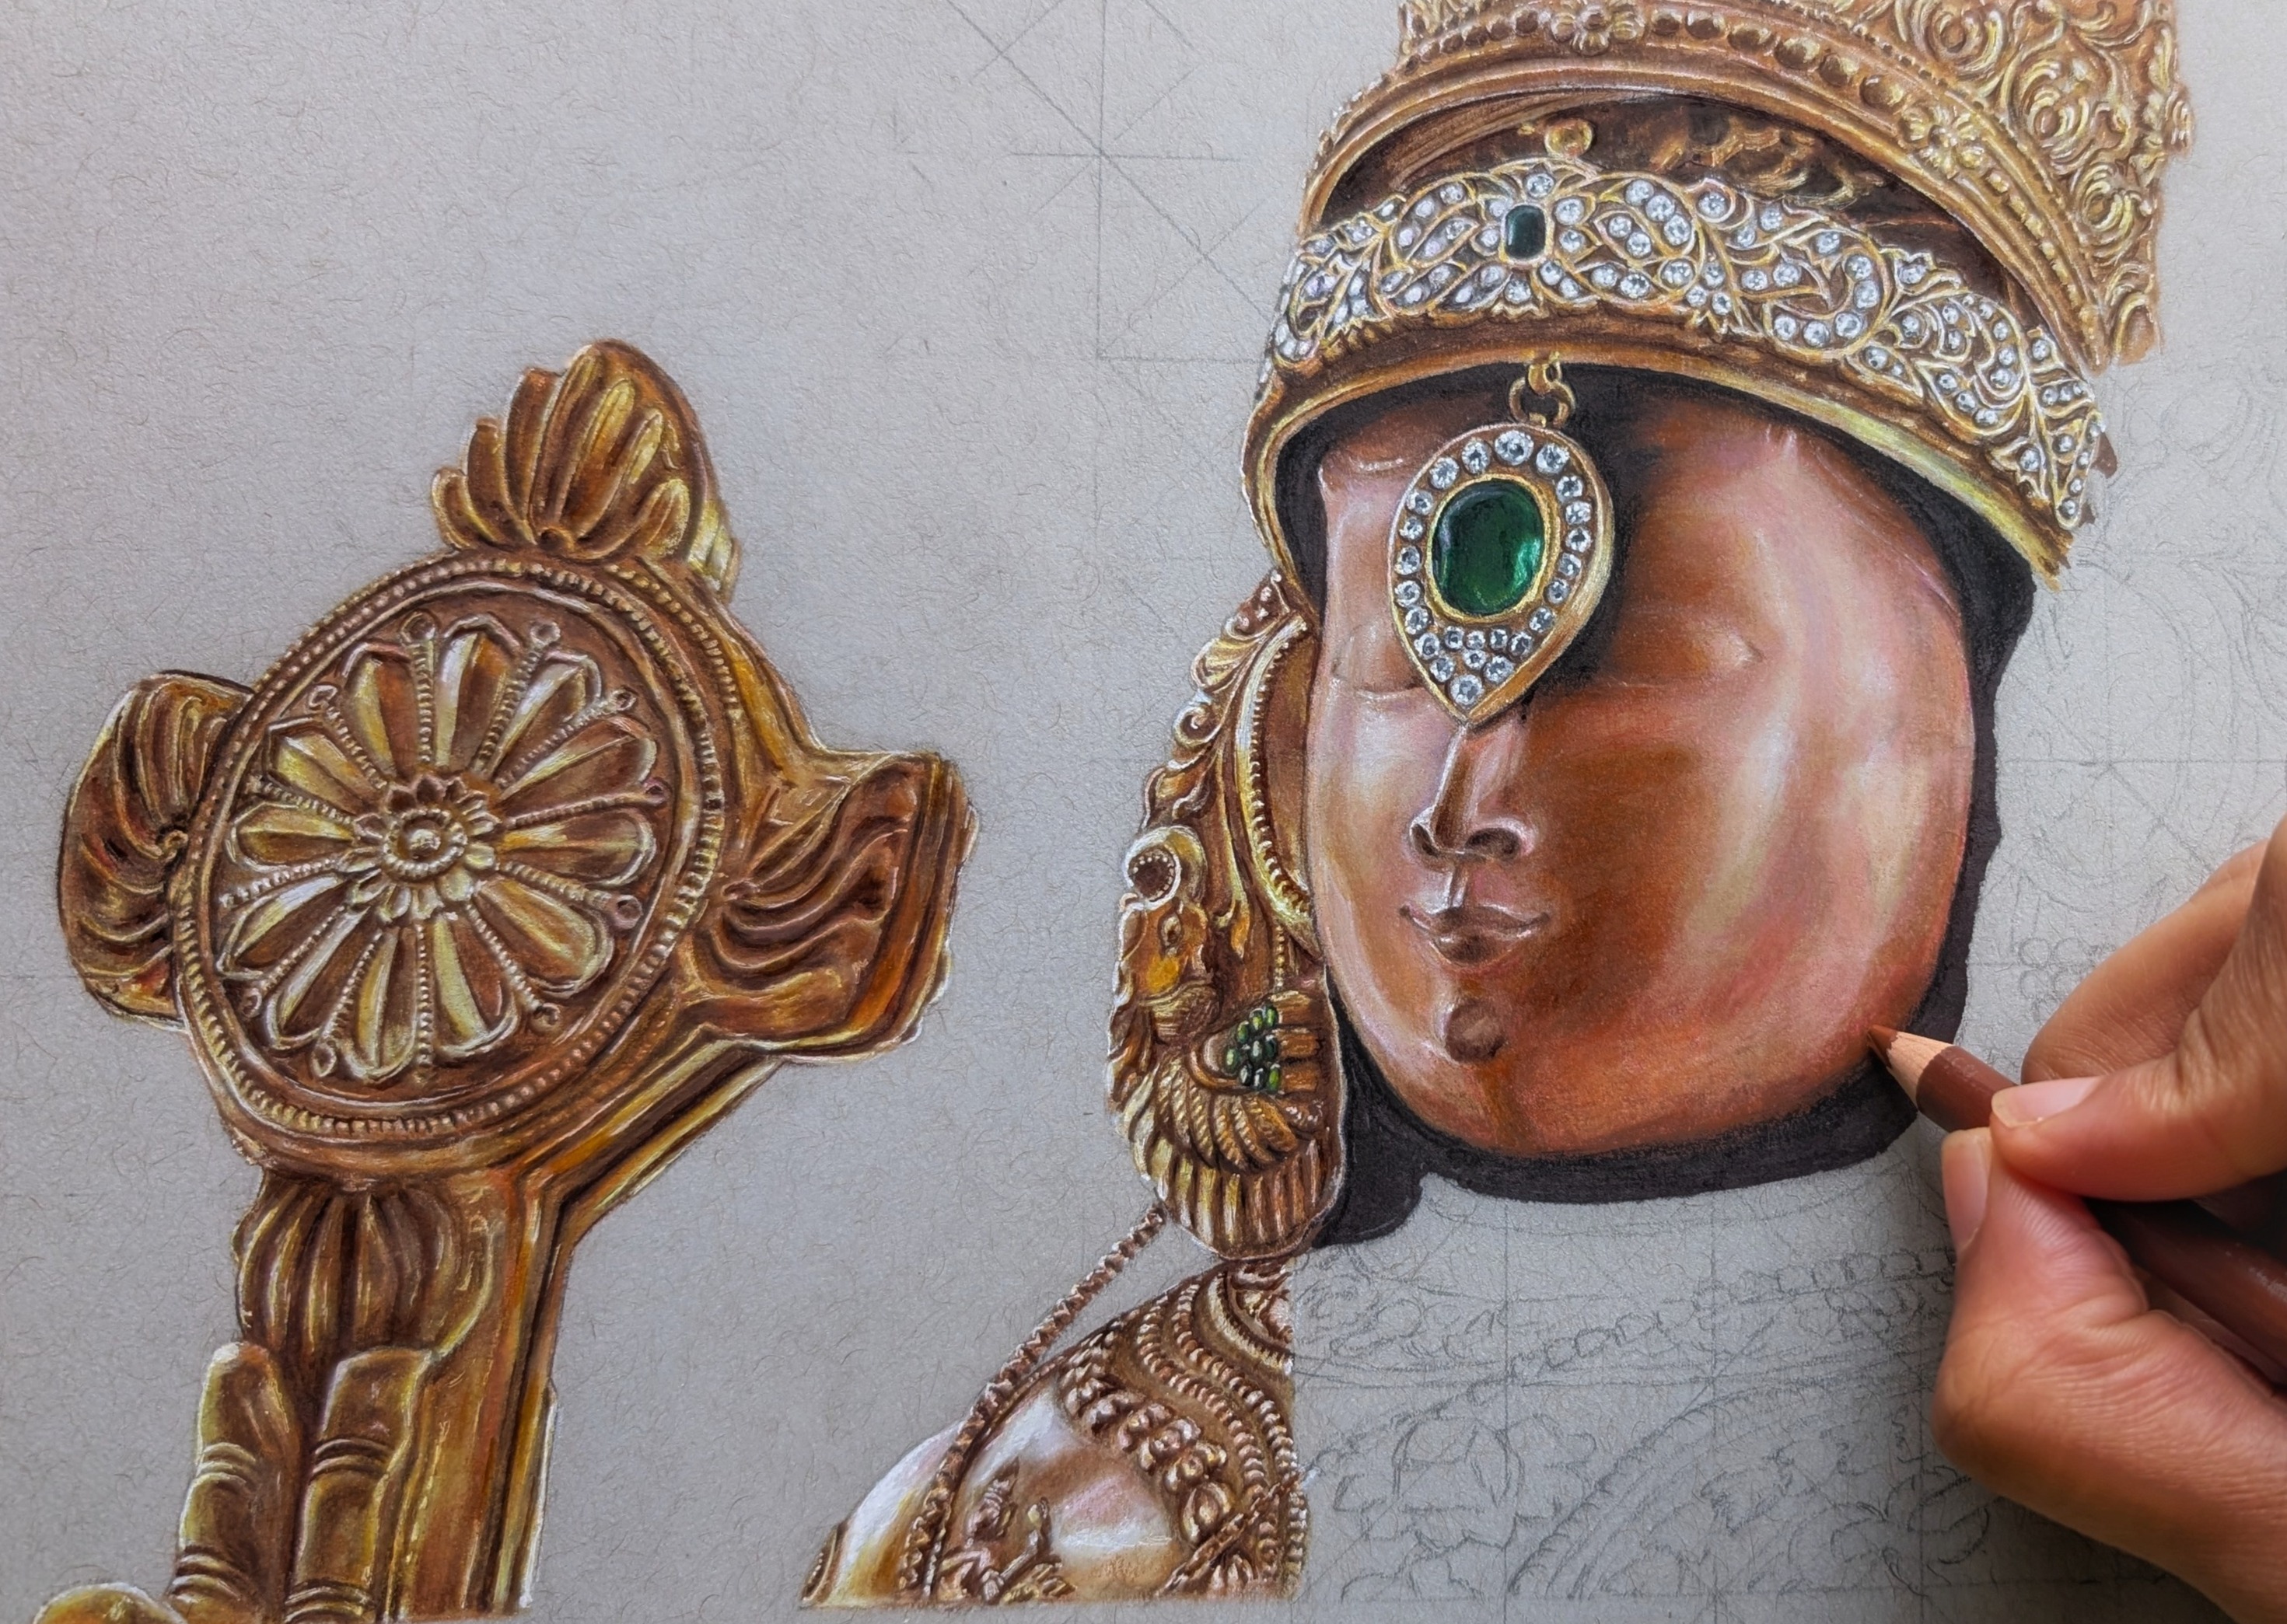
Sri Thelliya Singar
Bring divine details to life.
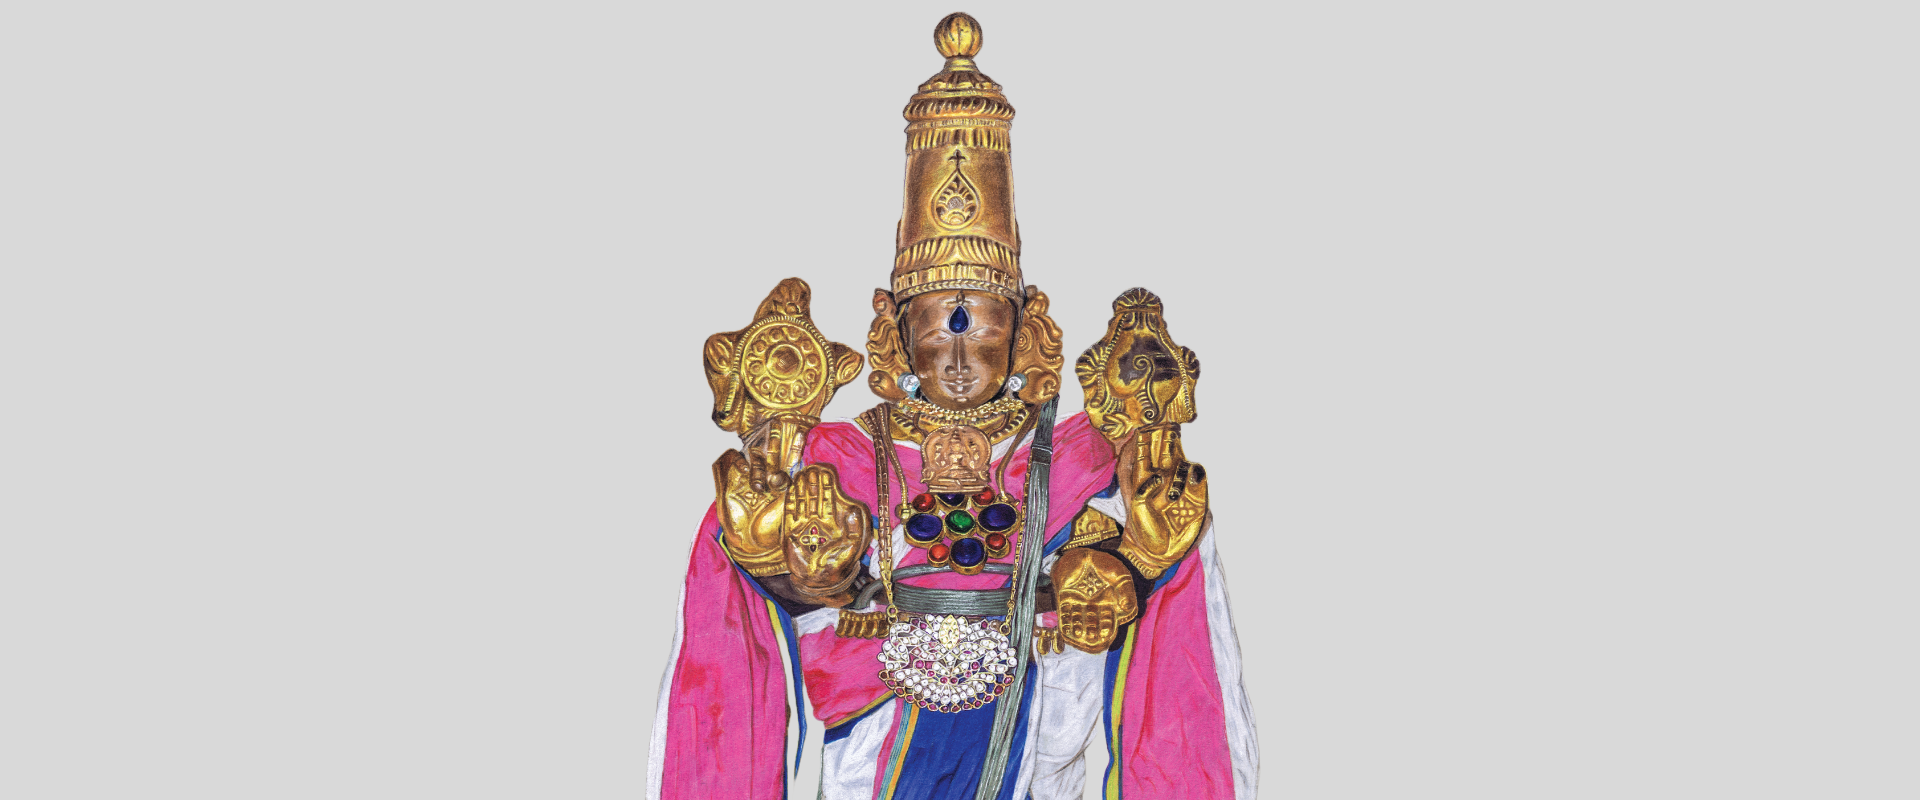
Sri Vaikunta Nadha Perumal
Draw intricate attire and ornaments in detail.
Flower Bunch
Craft stunning, three-dimensional roses with ease.
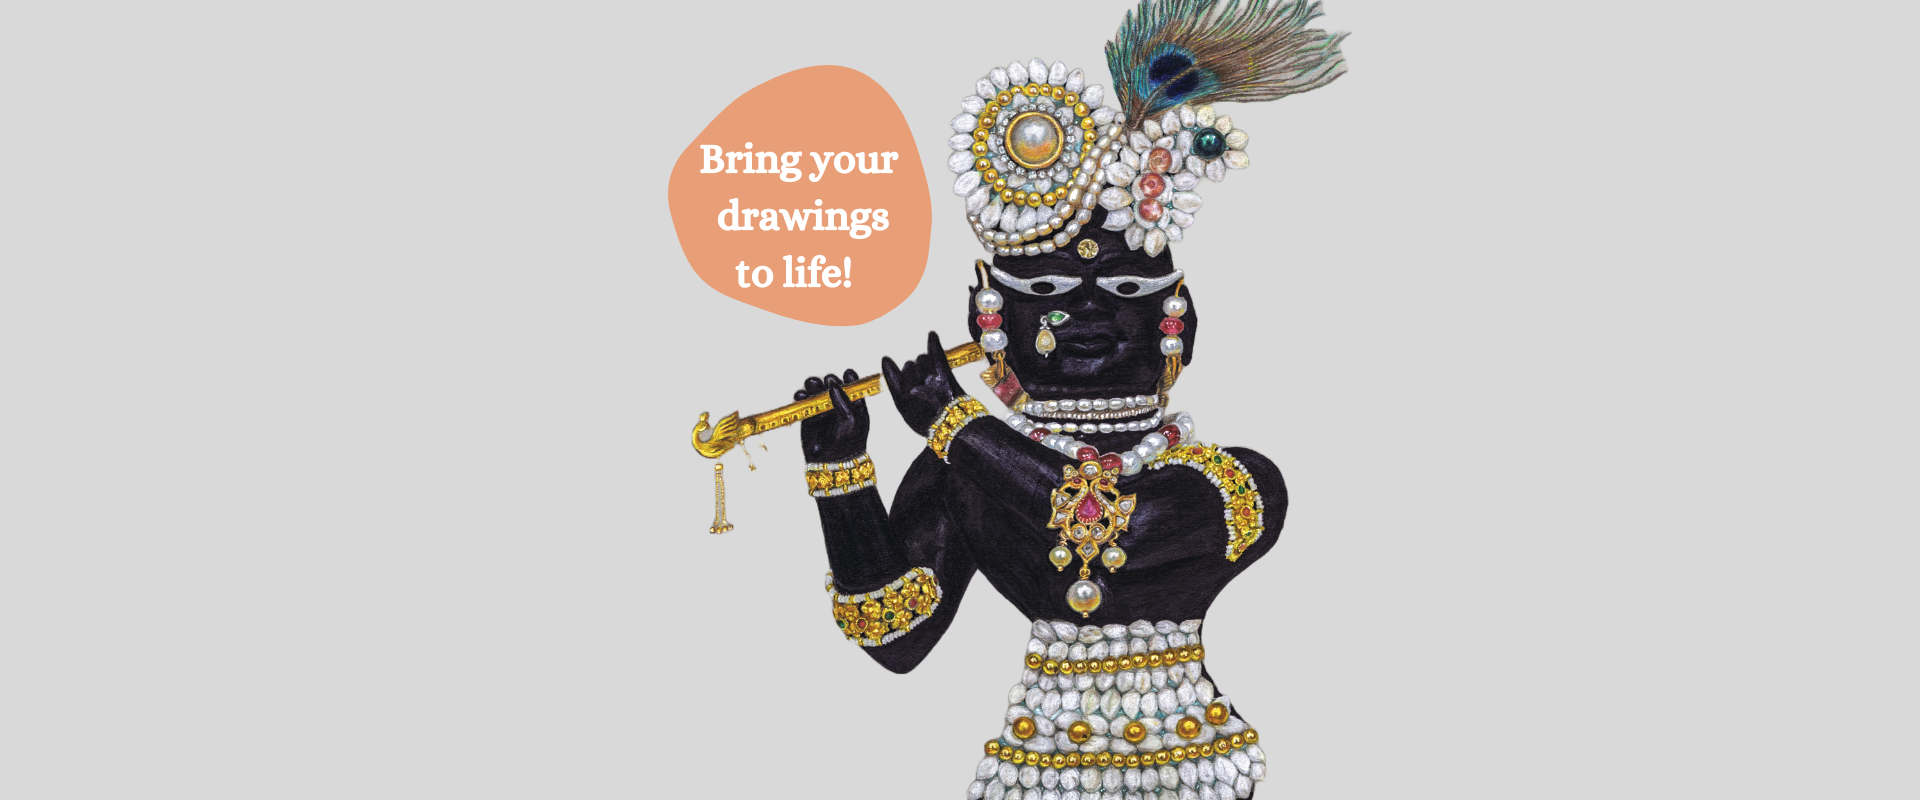
Sri Udupi Krishna
Create striking effects on black paper.
Course Curriculum
Expand each section to view the lessons included in this course.
| Section | Course Content |
|---|---|
| Section 1 |
Welcome to The Course
|
| Section 2 |
Choosing the Right Tools: Color Pencils, Markers and Other Tools
|
| Section 3 |
Building Your Foundation
|
| Section 4 |
Lights and Shadows with Colored Pencils
|
| Section 5 |
Tips and Best Practices for Realistic Drawings
|
| Section 6 |
Drawing a Realistic Ball
|
| Section 7 |
Drawing a Ruby
|
| Section 8 |
Drawing an Earring
|
| Section 9 |
Drawing a Zircon
|
| Section 10 |
Drawing Chains
|
| Section 11 |
Drawing Portrait of Sri Thelliya Singar - Chakram
|
| Section 12 |
Drawing Portrait of Sri Thelliya Singar - Left Shoulder Until Crown
|
| Section 13 |
Drawing Portrait of Sri Thelliya Singar - Face
|
| Section 14 |
Drawing Portrait of Sri Thelliya Singar - Chest and Right Ear
|
| Section 15 |
Drawing Portrait of Sri Thelliya Singar - Shankam
|
| Section 16 |
Drawing Portrait of Sri Vaikuntanadha Perumal - Crown
|
| Section 17 |
Drawing Portrait of Sri Vaikuntanadha Perumal - Kundalam and Face
|
| Section 18 |
Drawing Portrait of Sri Vaikuntanadha Perumal - Chakram
|
| Section 19 |
Drawing Portrait of Sri Vaikuntanadha Perumal - Shoulders and Abhayahastam
|
| Section 20 |
Drawing Portrait of Sri Vaikuntanadha Perumal - Vastram, Ornaments and Shankam
|
| Section 21 |
Drawing Portrait of Sri Vaikuntanadha Perumal - Kausthubham, Oddiyanam and Vastram
|
| Section 22 |
Drawing Portrait of Sri Vaikuntanadha Perumal - Vastram and Lower Hand
|
| Section 23 |
Drawing Portrait of Sri Vaikuntanadha Perumal - Vastram and Thirupadam
|
| Section 24 |
Drawing White Flower Bunch
|
| Section 25 |
Drawing Rose Flower Bunch
|
| Section 26 |
Drawing Sri Udupi Krishna on Black Medium
|
| Bonus Section 27 |
How to Protect Your Realistic Drawings
|
| Bonus Section 28 |
Sharing on Social Media
|
| Course Feedback |
Please Share Your Experience
|
| Live Sessions |
Live Session Recordings
|
Realistic drawing made easy: Basics to Brilliance
₹ 19,999
Unlock your creativity and master realistic drawing in just 4 months!
- 70+ hours of lessons
- Weekend live session
- Beginner friendly approach
- Step-by step guidance
- Comprehensive curriculum
About the course
Unlock your artistic potential with Realistic Drawing Made Easy: From Basics to Brilliance. Whether you're a beginner or looking to refine your skills, this course will guide you step-by-step through drawing stunning gemstones, jewelry, sacred deities, and beautiful flowers. With on demand pre-recorded videos, 4 months of weekend live sessions and 1-year access to course recordings, you’ll have everything you need to create lifelike, breathtaking art. Fees are structured differently for applicants enrolling from India and from overseas. For complete details, please get in touch with us.
Join now to turn your passion for drawing into a masterpiece with easy, step-by-step lessons!
Meet your Tutor
I’m Ankita, a professional with a deep passion for art. Despite a career in engineering and management, my love for drawing led me to rediscover art as a form of meditation and self-expression.
Starting with daily digital sketches, I progressed to mastering graphite and color pencil techniques under renowned mentors, and now I’m delving into Shilpashastram. Art has been transformative for me, and I’m thrilled to share my journey and techniques with you. Whether you’re starting fresh or sharpening your skills, let’s make learning art fun and inspiring together!
With roots in Kerala, born and raised in Bangalore, and now working in Italy, I bring a unique cultural perspective to my art. Fluent in Malayalam, English, Tamil, Kannada and Hindi. I’m here to guide you in the language you're most comfortable with.
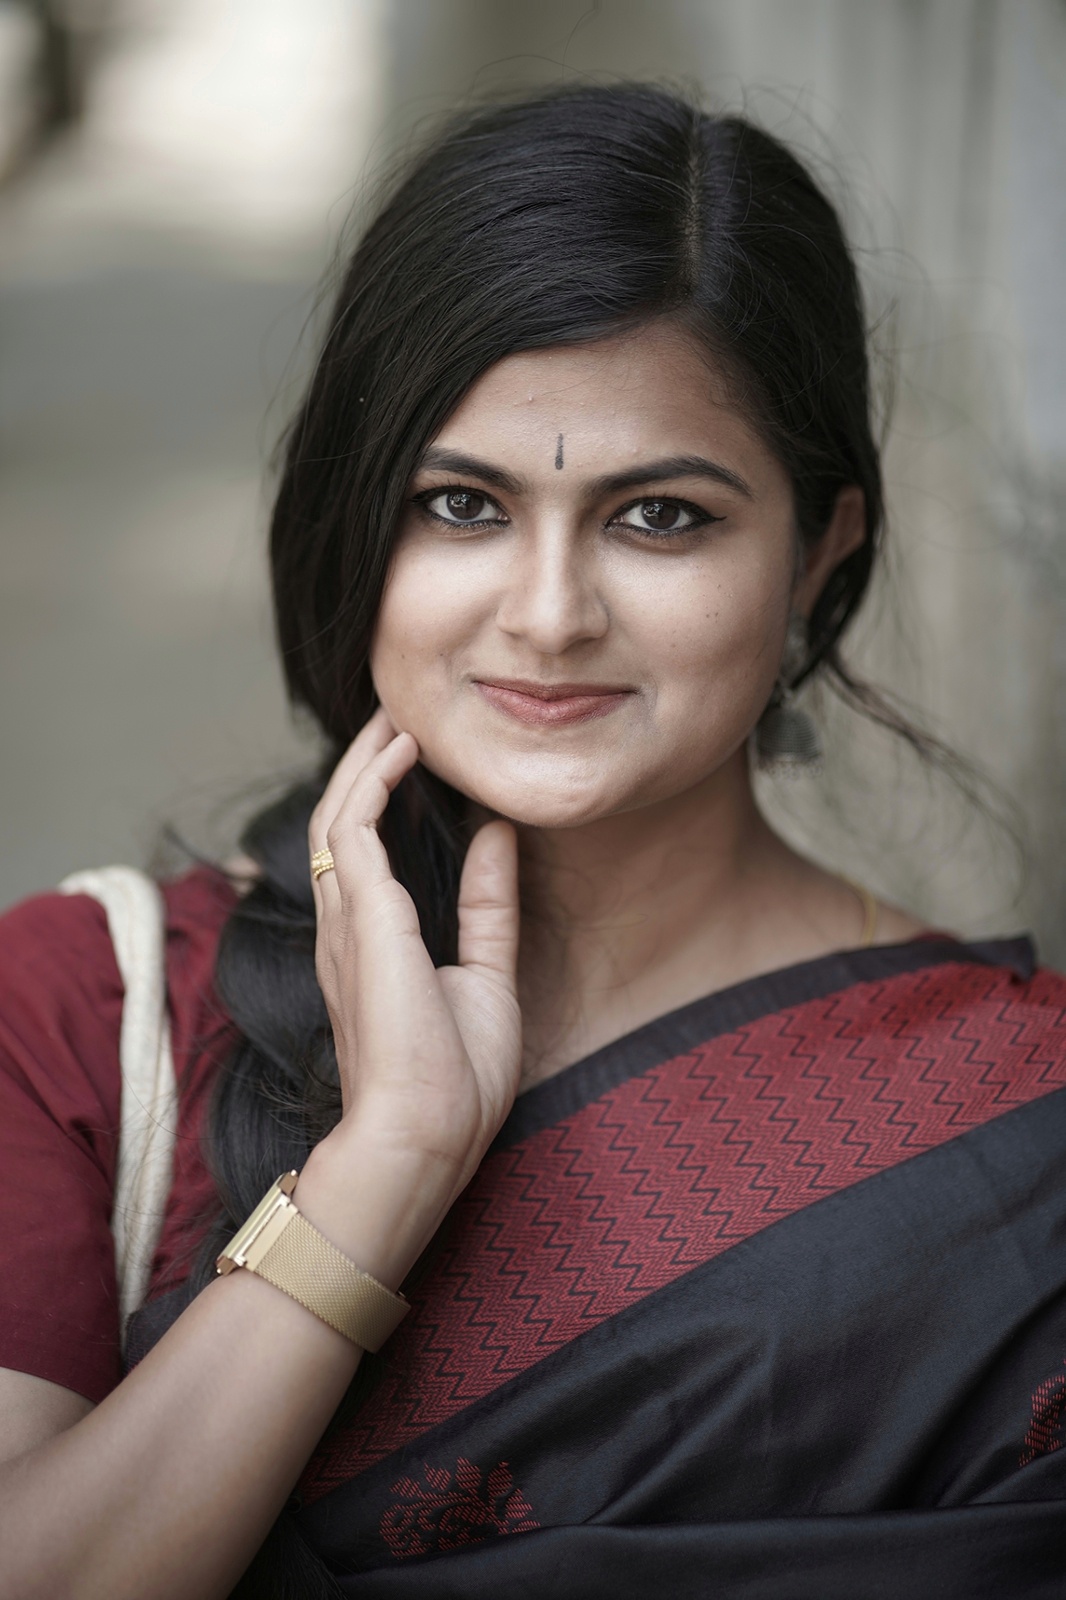
Ankita KS
FAQ
Who is this course for?
This course is perfect for beginners who want to start their journey in realistic drawing, as well as intermediate artists looking to refine their skills with coloured pencils. No prior experience is needed!
What materials will I need for the course?
You'll need art supplies like coloured pencils, sketching paper, markers, blender pencils etc. A detailed materials list can be found here.
When will I receive feedback on my drawings?
Feedback will be provided during the weekend live session and through class group ensuring you get timely guidance and support.
How is the course structured?
The course consists of 26 sections spread over 4 months. Each section is designed to build on the previous one, starting with simple objects like a ball and progressing to more advanced subjects, including drawing half and full-length portraits.